Discover the precise steps for installing Fenner Tyre couplings from inspecting components to performing load tests, for a smooth and reliable installation process. The proper installation of Tyre couplings plays a pivotal role in ensuring optimal performance and longevity.
1. Pre-Installation Inspection: Ensuring a Solid Foundation
Before diving into the installation process, conduct a thorough inspection of all components. Check for any signs of damage or wear and ensure that the shaft ends are clean, dry, and free from contaminants. This proactive step sets the stage for a smooth and reliable installation.
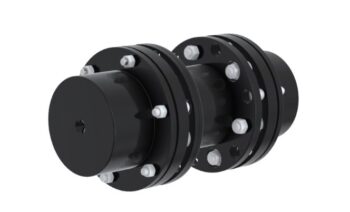
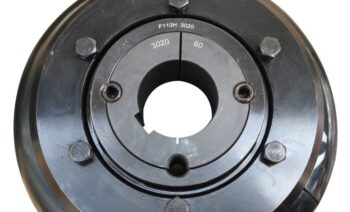
A standard Tyre coupling consists of two couplings hubs, two taper locks and one tyre element.
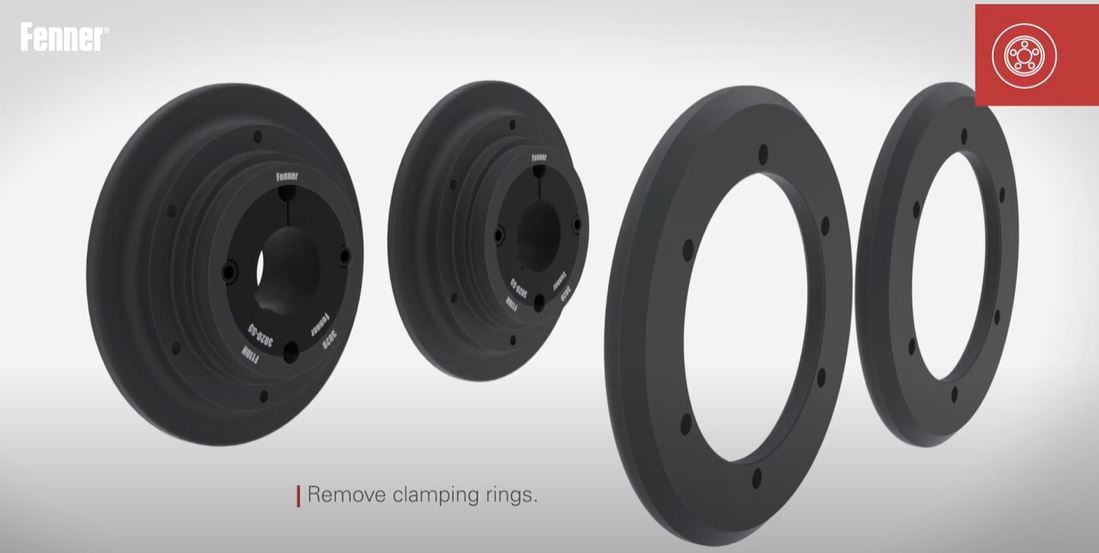
2. Remove Flanges from Coupling Hubs
Unscrew the clamping rings to remove the flanges from coupling hubs.
3. Positioning the Coupling Hubs with the right DBSE
Mount the two coupling hubs on the respective shaft ends, with one hub loosely fitted. This allows for adjustment to achieve the right gap distance. Measure the gap between the hubs and ensure that it follows the gap requirement in the catalogue. Once the distance is confirmed, tighten the loose hub.
Follow the specified torque values provided by Fenner to ensure proper and uniform tightening. Fenner Tyre couplings are designed for efficiency, and accurate positioning is key to their performance.

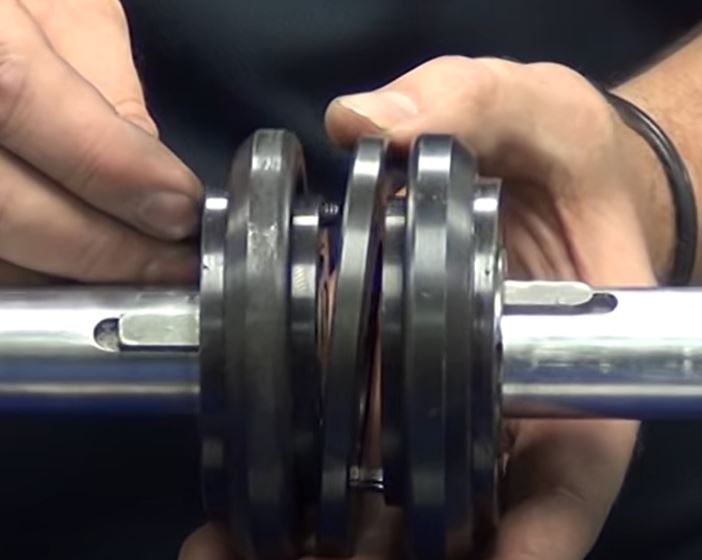
4. Install the backing plates
Use the clamping rings to screw on the flanges on both inner sides of the hubs loosely.
5. Place the Tyre over the flanges
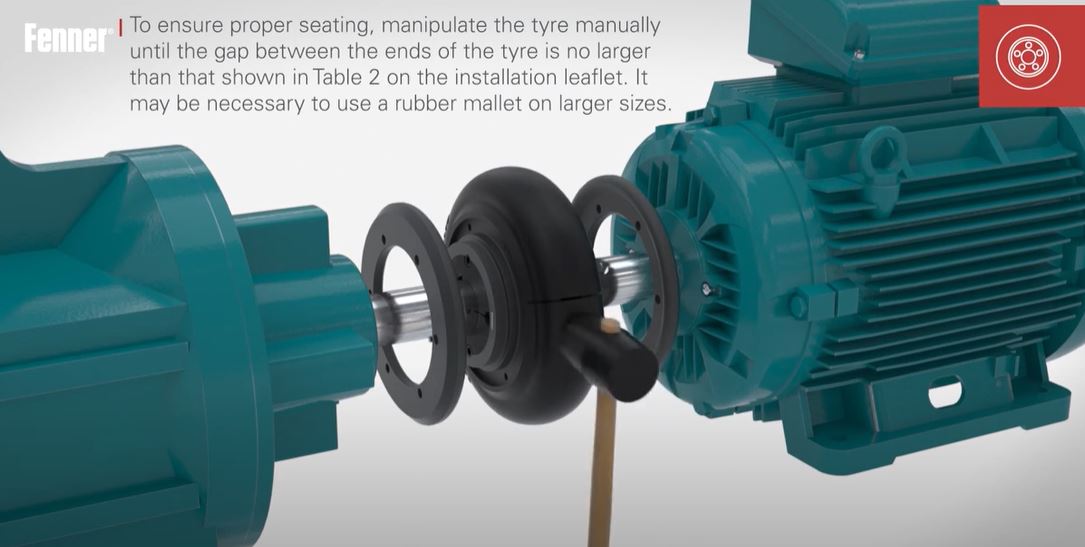
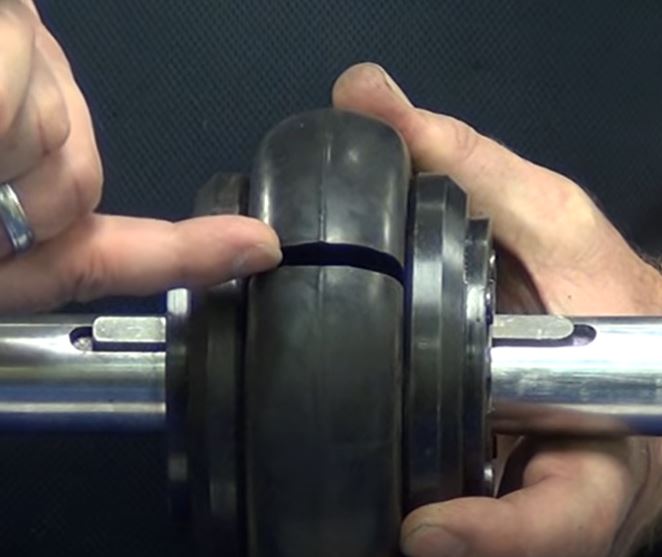
Open out the tyre element and fit over the coupling flanges, ensuring the groove within the tyre sits properly on the flanges. You may use a rubber hammer if adjustment is required. Tighten the clamping rings to secure the coupling. While tightening the coupling, ensure that the gap in the tyre element follows the requirements in the catalogue.
Fenner’s flexible tyre element is engineered to provide resilience and durability, making it a crucial component in the power transmission system. Ensure a snug fit for optimal functionality.
6. Alignment Check: Precision for Performance
Verify the correct alignment of the coupling. Misalignment can lead to premature wear and reduced efficiency. Utilize alignment tools to check for both angular and parallel misalignments, making necessary adjustments as needed.
7. Ensure clamping rings are tightened properly
Double-check and tighten all clamping rings according to Fenner’s recommended torque values. This attention to detail ensures the integrity of the coupling assembly, preventing issues down the line.
8. Trial Run and Full Load Test
Once installed and checked, allow the coupling to run with equipment under load for a short period of time. After which, check the clamping rings’ torque ratings and ensure it still follows Fenner’s recommended torque values. It is vital to validate that the coupling performs as expected under operational conditions.
For a clear video installation video, refer to: Fenner Coupling Installation Video
Trust in Shafttech, an expert in Industrial Couplings
By following these expert-recommended steps for Fenner Tyre coupling installation, you not only ensure optimal performance but also contribute to the longevity and efficiency of your industrial machinery. Trust in Fenner’s quality and master the art of installing tyre couplings for a seamless and reliable power transmission system. Your machinery deserves nothing less.
Contact Shafttech today at sales@shafttech.com and we will be able to assist with your queries.